Back to School
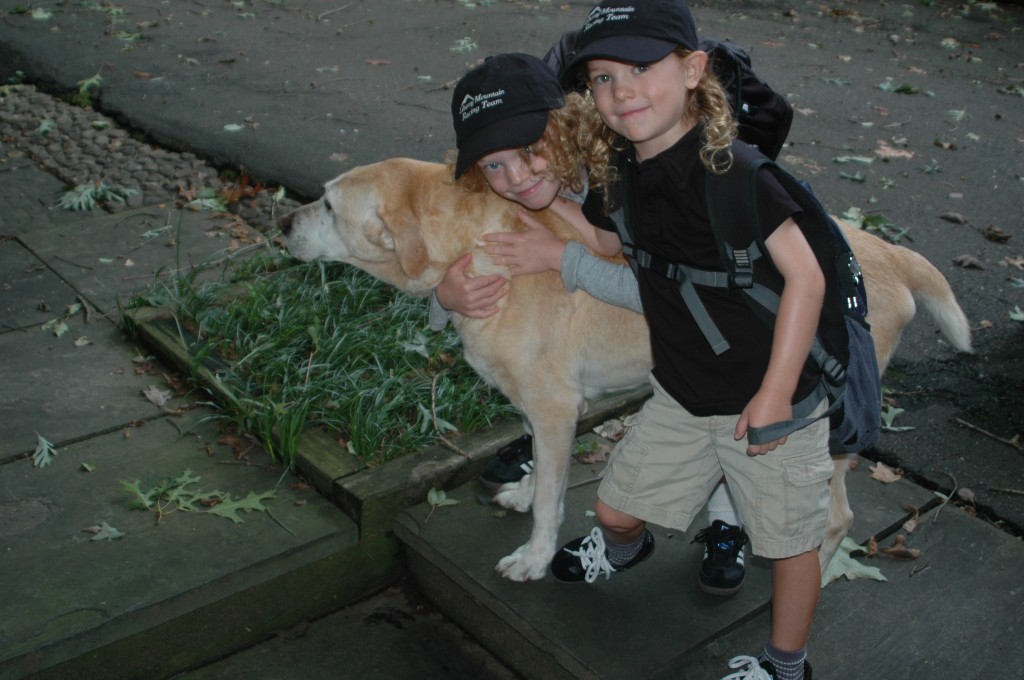 I don’t remember ever having such a hectic summer. Never have I felt so relieved that school was starting. While we didn’t really travel until the last week of summer break, the level of activity (camps, soccer, swim team, piano, etc.) and coordination of all these events was insane. We knew we were over scheduled at the outset, but we would not have passed up any of these opportunities for the boys to grow and have fun. I want to come back as one of them in my next life. They just needed to wake up in the morning and then they were ushered to a day of fun and adventure.
For the first time this year, the boys go to the same school at the same time and ride the same bus. It is both awesome and sad since it also marks a new phase in life that is a real departure from babydom.
Since Noah first started eating, I have always made bread. I think I have talked about this before in another post, but it seems fitting to address it here because it is so tied into our school lunches. Even though I made bread all summer for camp, baking bread for school feels different for some reason. Since we are vegans, fresh bread seems like the least we can do to make sure the kids have the best sandwiches possible. We always have two different types of bread dough in the fridge at all times. Since Virginia is gluten free, I also need to have bread for her as well.
My grandmother always made bread. I have a very distinct image of her shaping, rolling and kneading dough. There really isn’t another smell that comes close to freshly baked bread. My mom baked, but was more of a cook than a baker. It wasn’t until we had the restaurant that my bread skills took form. My sister is an awesome baker and quickly developed multiple bread recipes. We had three different breads coming out of the oven all night long so everyone had fresh bread.
Most people think making bread is hard and are often intimidated to try it, but it isn’t that hard and it is really fun to do. I also remember this French guy who my sister met one summer who came to the house and baked all these breads from scratch without any recipe, and I thought that having this ability would serve me well in the pursuit of good bread and hungry women. Cooking in general, as a man, has some serious benefits when dating. Think the “man’s heart through his stomach” works even better with switching genders in my experience.
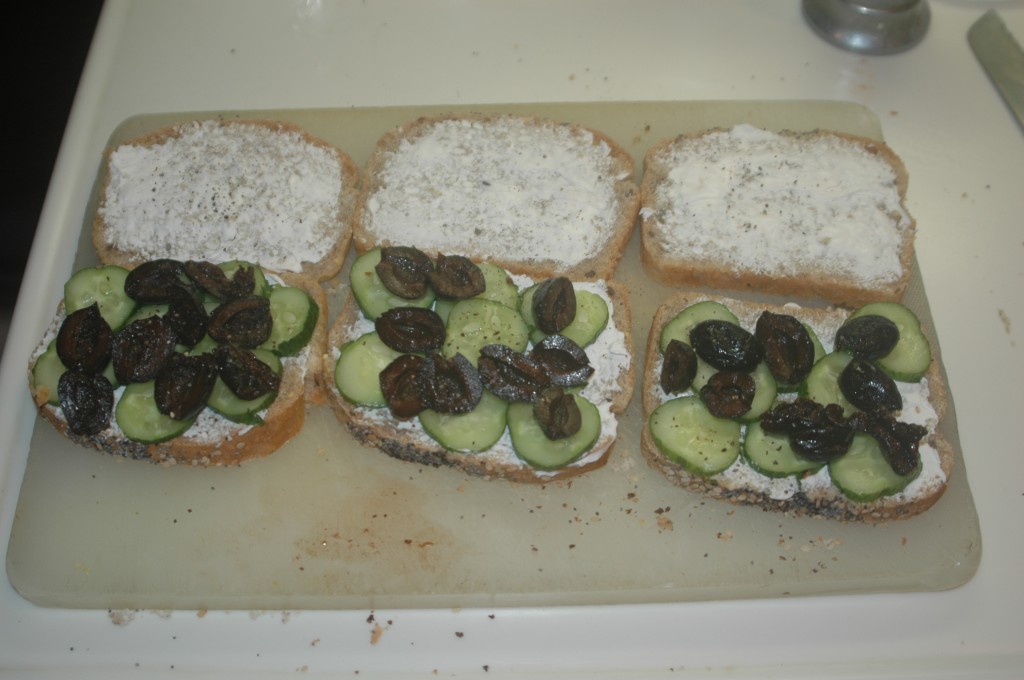 So everyday my kids have sandwiches on freshly baked bread. Usually the night before school, we pull some dough from the fridge and bake a loaf. It is takes about 50 minutes to shape and cook and then a few hours to cool. The process from the beginning is a little more involved, but I only do it once a week and like everything else I cook, it can be done through out the day depending on time. The good news is, I have found it really hard to totally screw up the starter, regardless of how much I neglect it or rush it.
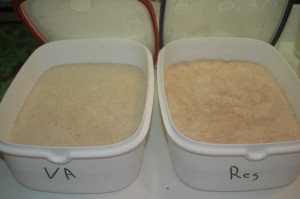 To start the process I make both the gluten free and the wheat bread at the same time. The starting process is the same for both and includes many of the same ingredients. Since I do make a bit of mess, it is easier to make only one mess on one day. I start out with fresh French yeast that I get from a distributor I used at the restaurant. You can use dry yeast or even fresh yeast from the grocery store if available. The French yeast is my favorite. I keep it in the freezer and a brick lasts me about two months. The first process involves activating the yeast. I combine a small fist size of fresh yeast with warm water, a couple of table spoons of sugar, a healthy scoop of flour (whole wheat for the normal and brown rice for the gluten free bread) and mix by hand until everything is roughly combined. You probably don’t have to mix as much as I do, but I love the feel of squishing it through my hands (and so do my kids). You can now leave this alone. It will start activating within about 5 minutes, but you can leave it set out all day if you don’t get back to it. If you have the time and can watch it for a few seconds, you will see bubbles rising to the surface slowly. If you see just one, you know it is working. It doesn’t always work so checking is important before you jump ahead and waste a ton of ingredients. I like to wait for a lot of action, but it shouldn’t be too much more than ten minutes.
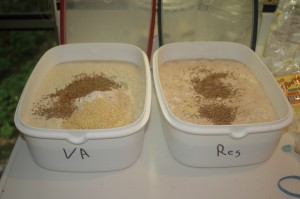 Once the yeast is active it is ready for the second rise. This is where the real fun starts. Most the flours I use are predominately whole grain. For the non-gluten free bread, I add whole wheat, oat bran, whole millet, whole flax seeds, wheat germ and any other flour I have around. I also add about 1/5 unbleached white flour. This is essential for the bread to stay together especially for the sandwich loafs and pizza crusts. You can use the dough for anything.
  I have made pizza, baguettes, flat breads, sandwich loafs, bagels and twisted soft pretzels from the mix. The consistency at this stage has to be loose mud. This time you want to combine all the stuff well without over mixing. Get the clumps out.
For the gluten free bread I add medium grind corn flour, potato starch, more brown rice, oat bran, whole millet and whole flax seed. I keep this super wet, as we tend only to make flat bread from this dough. For both doughs, we let them sit for about 30 minutes. If you are in a rush, you can proof them in a warm oven to speed up the process. Or if you need to take an hour or so, you can keep them in a cool environment. You need to play with the process your first few times until you get a feel for it. One thing to note is that the bread will double in size. Mark your container so you can see where you begin and when it explodes.
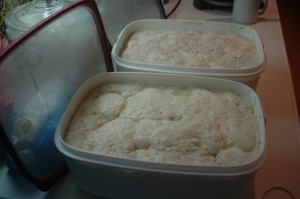 After it magically grows you are nearly done and ready for baking or storage. First you need to add salt. Not only does it add to the taste, but it also helps slow down the out of control yeast explosions that can happen if you’re not careful. For both breads, I also add more flours. For the gluten free, I get the consistency to a yogurt- like state where it can be easily spread on a stone without running off the edges, but not thick enough to hold shape. For the regular bread, I add more white unbleached flour with the salt. You can add more flour at anytime, but you can’t add any more moisture. Eror on the side of wetness.
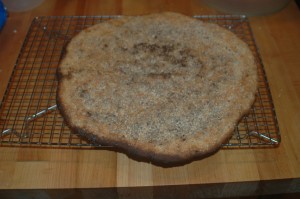
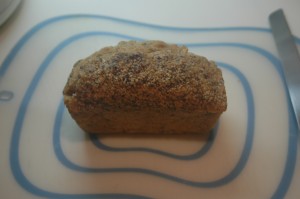 To make a loaf, I coat a bread pan with spray oil. I use grapeseed oil since it doesn’t have a taste and doesn’t burn, but you could use any spray or oil as long as you coat the pan. I then fill it up half way and coat the top with sesame seeds, poppy seeds and coarse salt (pat it down a bit so it makes a nice coating on the top). I bake at 350 for about 45 minutes if the dough is room temp or 55 minutes if it is cold from the fridge. The remainder goes into a container with about half the space remaining since it will still rise in the fridge. The gluten free bread is spread out on an oiled stone and topped with the same seeds and salt, but baked at 500 for about 10 minutes and then I take it off the stone and put it directly on the rack. Virginia likes her bread crispy. There is really nothing like it fresh out of the oven. We can do her bread in about 15 minutes and the kids devour it with tofu cream cheese or soy butter or almond butter depending on what they have a taste for. Her bread always seems to go first.
I will delve more into lunches this week, and our favorite sandwiches for school.
I love your breads, but more, I love how the kitchen smells when you’re baking. Can you make bagels with this dough?
We can make bagels with the dough, but have yet to try gluten free bagels. We miss you Howie.
Nice looking pizzas Kenan!
thanks Pat
hope all is well
Kenan,
Great blog! Jen just recently sent me the link to TheHouseDaddy. I am always looking for ways to expand my very limited vegetarian/vegan cooking skills and this will help. Thanks for finding the time to share your culinary expertise with the world. Looking forward to trying out some of your recipes. I also have a timely request. We have butternut squash in our garden that would take over the neighborhood if it could. Needless to say, we have an ample supply of butternut squash and am looking for new recipes. Just made a soup and a Thai red curry dish which which were great. Any thoughts? I hope all is well.
Thanks Tom,
Work the veggies in when you can. No need to do it all at once. I will try to do some butternut recipes when I get some. You can also just mash it up like potatoes for a side with olive oil, salt, pepper and some fresh herbs.
Best to the family and hope to see you soon,
K
Tom Cavill just turned me on to your blog. I’ve been vegetarian and nearly vegan for about two years and am digging your blog. Any chance of posting a video (uTube?) on your bread making process? Thanks for the work you’re doing.
Thanks so much for your comment. I really want to try and post video and will work on it. It is a great suggestion and I need branch out and do some mixed media. I will keep you posted, but thanks for reading and commenting.
Best,